“A safer drive starts with a cleaner windshield”- and there is no doubt about it.
Even though there are many effective windshield cleaning products in the market, you cannot achieve that sparkly clear surface without a pair of Rain X Windshield Wipers!
Made with the highest quality materials and the latest technologies, these automotive wipers clean your windshield like none other.
Have you ever wondered how to put on Rain X Windshield Wipers?
Read More: Rain X Wiper Blades Won’t Click J Hook
How to Put on Rain-X Windshield Wipers?
Here is a step-by-step guide on putting on Rain X Windshield Wipers so that you can do it yourself without needing any professional.
Step 1: Gather The Materials
To install the Rain-X Wipers, you first need to gather all the tools and accessories and keep them handy. You wouldn’t want to run back and forth for things during the installation process.
Materials You Will Need:
- Rain X Windshield Wipers
- Wiper fluid of your choice
- Microfiber towel
- Windshield cleaner
Step 2: Remove The Pre-Installed Wipers
Once you have all the materials you need in hand, you can start the installation process. To do that, begin by removing the pre-installed wipers.
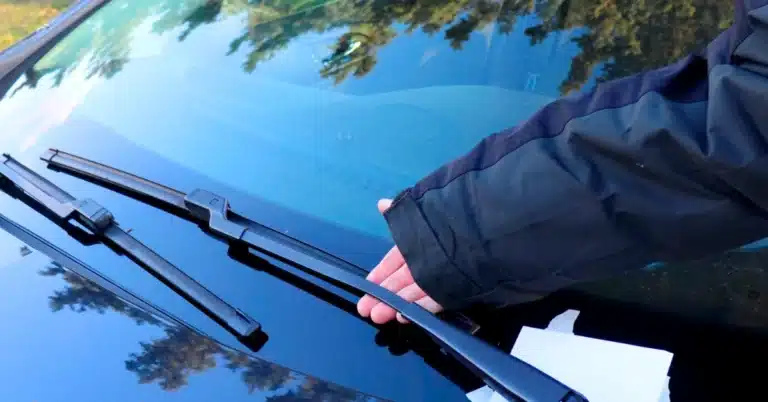
Gently pull the wiper away from the windshield and place it perpendicularly. Then, release the blade by pushing the release button.
After the wiper is released, pull it down gently to separate it from the windshield.
Repeat it for the other wiper too.
Remember to put a towel underneath the wiper arm so that even if it falls due to any sudden movement, it doesn’t crack the windshield in any way.
Step 3: Prepare The Windshield
When you are done removing the old wipers, remember to clean the windshield thoroughly. Wipe off any dirt, dust, or buildup from the surface with a cleaner solution and a towel and prepare it for the new set of wipers.
Step 4: Install A New Pair of Rain X Windshield Wipers
After you are done preparing the surface, it’s time to finally put on your brand-new Rain X Windshield Wipers on your car.
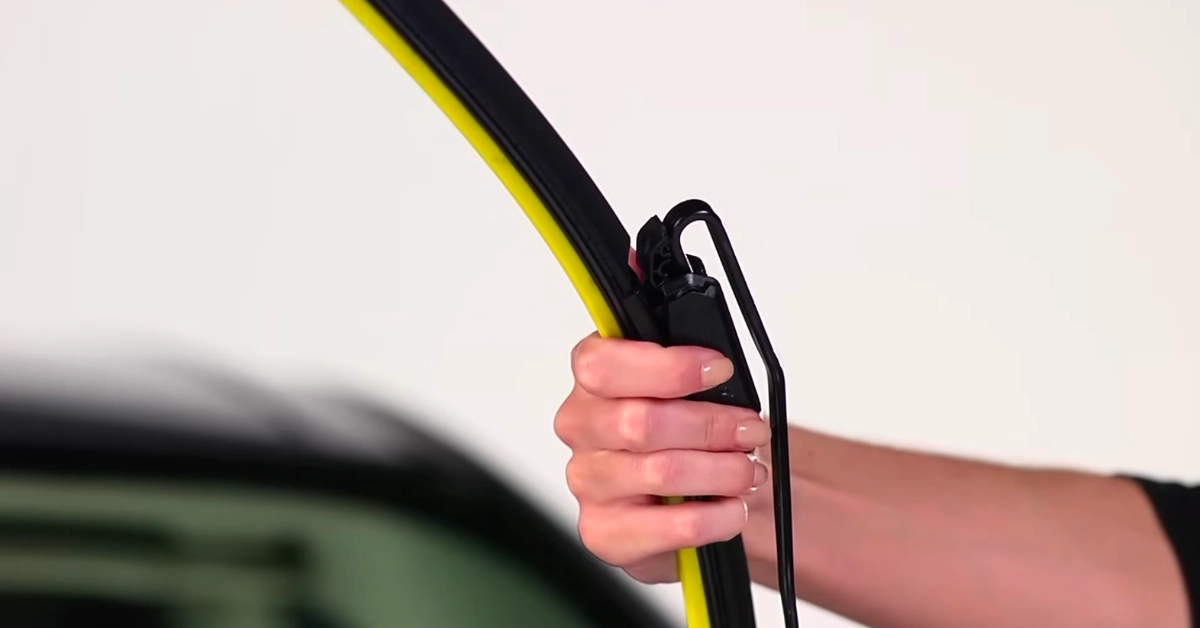
To put up the wiper, line it perfectly with the wiper arm so that you can attach them together without any hassle. Make sure that the metal hook goes through the blade hole for a tight join.
You will hear a smooth clicking sound when the wiper and the metal arm join together. And when these two click, gently push down the wiper in place.
Repeat the process with the other wiper, and Voila! You are done installing your new Rain X Windshield Wipers on your car!
Step 5: Check The Newly Installed Wipers
You are not done after putting on the new Rain X Windshield Wipers; you must check their angle and how they work on the windshield to ensure enhanced performance.
Turn on the ignition of your car and wet the windshield with wiper fluid to see if the wipers are working fine.
If the angle isn’t right or the installation isn’t proper, the wipers will cause a chattering noise while cleaning the windshield.
In such cases, remove the wipers and install them again for a perfect and effective fit.

Read More: Rain-X Weatherbeater vs. Latitude
Tips and Tricks To Put On Rain X Windshield Wipers Perfectly
I have shared a few tips and tricks to put on Rain X Windshield Wipers to make the installation process even easier and safer for you.
- Choose the right wiper blades. As Rain X offers a number of wipers, picking the most suitable one for your car is crucial.
- If the newly installed wipers feel sticky, try to wipe them off with rubbing alcohol and eliminate the stickiness.
- Make sure to dispose of the old wipers correctly so that they don’t harm or hurt the environment.
What Benny Thinks
When you have a clean and clear windshield, the world is your oyster! Driving through any weather condition becomes easier and safer for you.
And now that you know how to put on Rain X Windshield Wipers on your car, maintaining a sparkling windshield couldn’t feel any easier.
Just put on these wipers on your car and leave the rest to them. These top-notch wipers will never let you down.


